Contact Page
In case of Demo Contents Import contact us pages is already created and you do not need to follow the 1st part of this section as 2nd part of the section will tell you about adding a contact page using contact form 7 plugin that is not part of the imported contents.
How to add Default Contact Page
Go to Dashboard → Pages → Add New and provide a page title that suit your purpose.
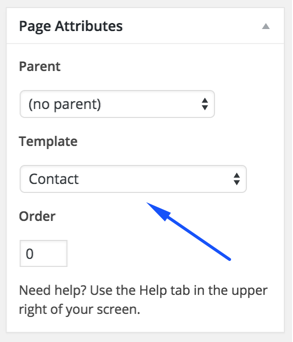
Select the Contact template from page attributes. As displayed in the screen shots below.
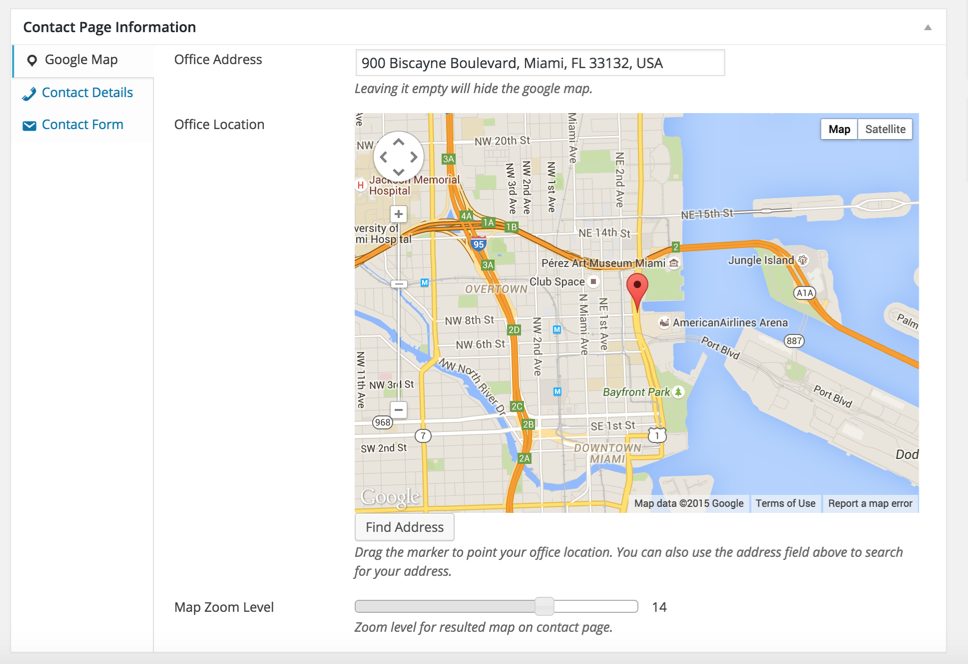
Provide address for google map, drag the marker to right position and select your preferred zoom level. You can leave the address field empty if you want to hide google map.
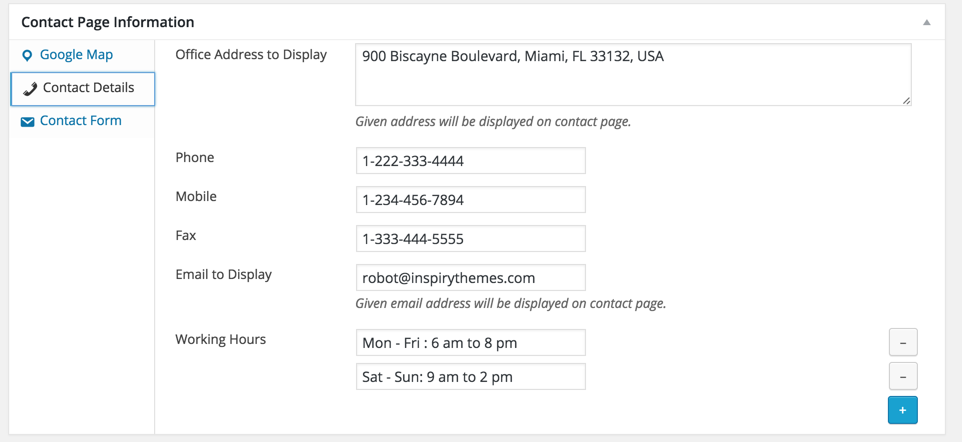
Provide your office contact details and timings as displayed in the screen shot below.
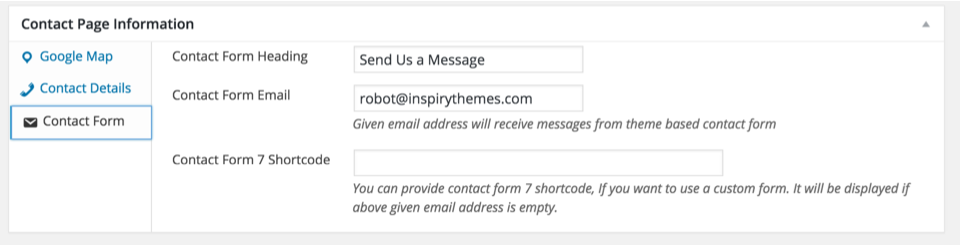
Provide contact form heading and email to receive messages from contact form.
If you want to change the default banner then you can do that from Banner Settings meta box displayed in the screen shot below.

You can Publish the page once it is ready.
After publishing you need to add the newly created page in menu from Dashboard → Appearance → Menus
How to add Contact form 7 Based Contact Page
Install and activate Contact Form 7 plugin.
Create a new form in "Contact Form 7" plugin to suit your needs OR use the default one. Copy the shortcode of target form in "Contact Form 7".
Paste the copied short code in Contact Page Information meta box that is displayed in the screen shot below.
Update the page and visit the front end and you will see that default form is replaced with contact form 7.