Introduction
This documentation is last updated on 8th November 2018.
Thank you for purchasing Elegantia WordPress Theme . If you have any question that is beyond the scope of this documentation, Please feel free to ask for help at our Our Support Site.
Disclaimer:
We offer limited support for theme customers. We only provide support for our themes and their core features. We cannot guarantee our themes will work properly with all third party plugins and server environments. If you plan on adding numerous plugins to this theme then please note, We cannot facilitate support for any conflicts that might arise with this theme's default functionality. The Elegantia WordPress theme is presented as it is.
Themeforest Item Purchase Code to Signup on Support Site
Please visit this knowledge base article to learn about how to get item purchase code from themeforest to signup on our support site.
Updating WordPress Theme
If this is a theme update and you want to apply it on your existing installation then please visit this knowledge base article to learn about a better way to update your theme
If you like this theme, Please support us by rating this theme with 5 stars (How to rate?)
Install Theme
In start you must have a working version of WordPress already installed. For information in regard to installing the WordPress CMS, please see the WordPress Codex Installing WordPress
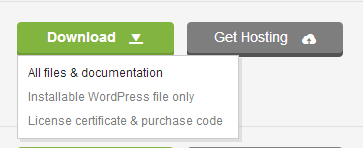
Once you have a working of version of WordPress, you need to download All Files and Documentation from themeforest and extract the downloaded zip to get various files including elegantia-theme.zip.
Install Theme Via WordPress Dashboard
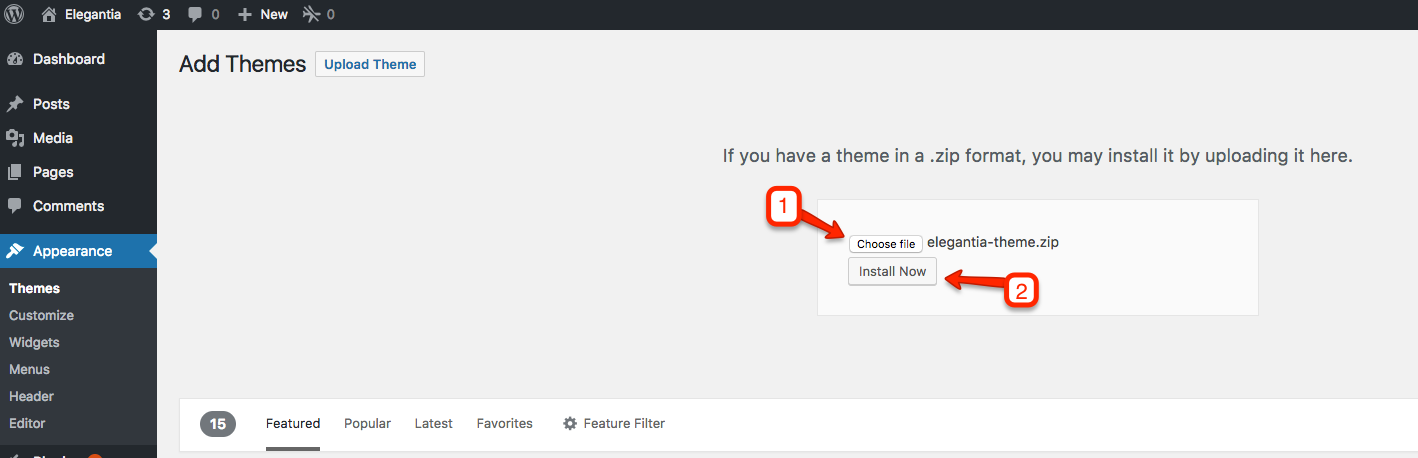
- Go to 'Appearance > Themes' section
- Click 'Add New' and select the 'Upload Theme' option
-
Choose the elegantia-theme.zip file and press 'Install Now'
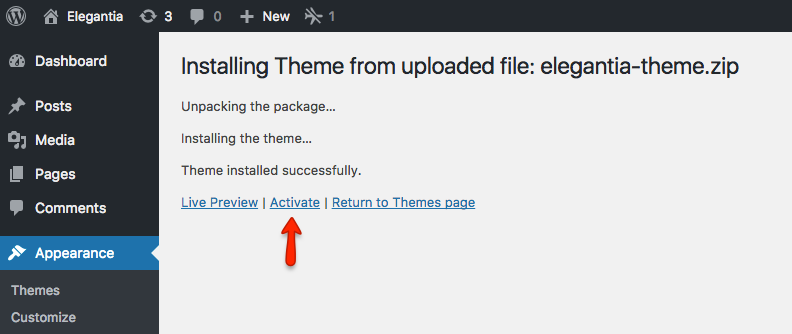
-
Once the theme is uploaded you need to activate it.
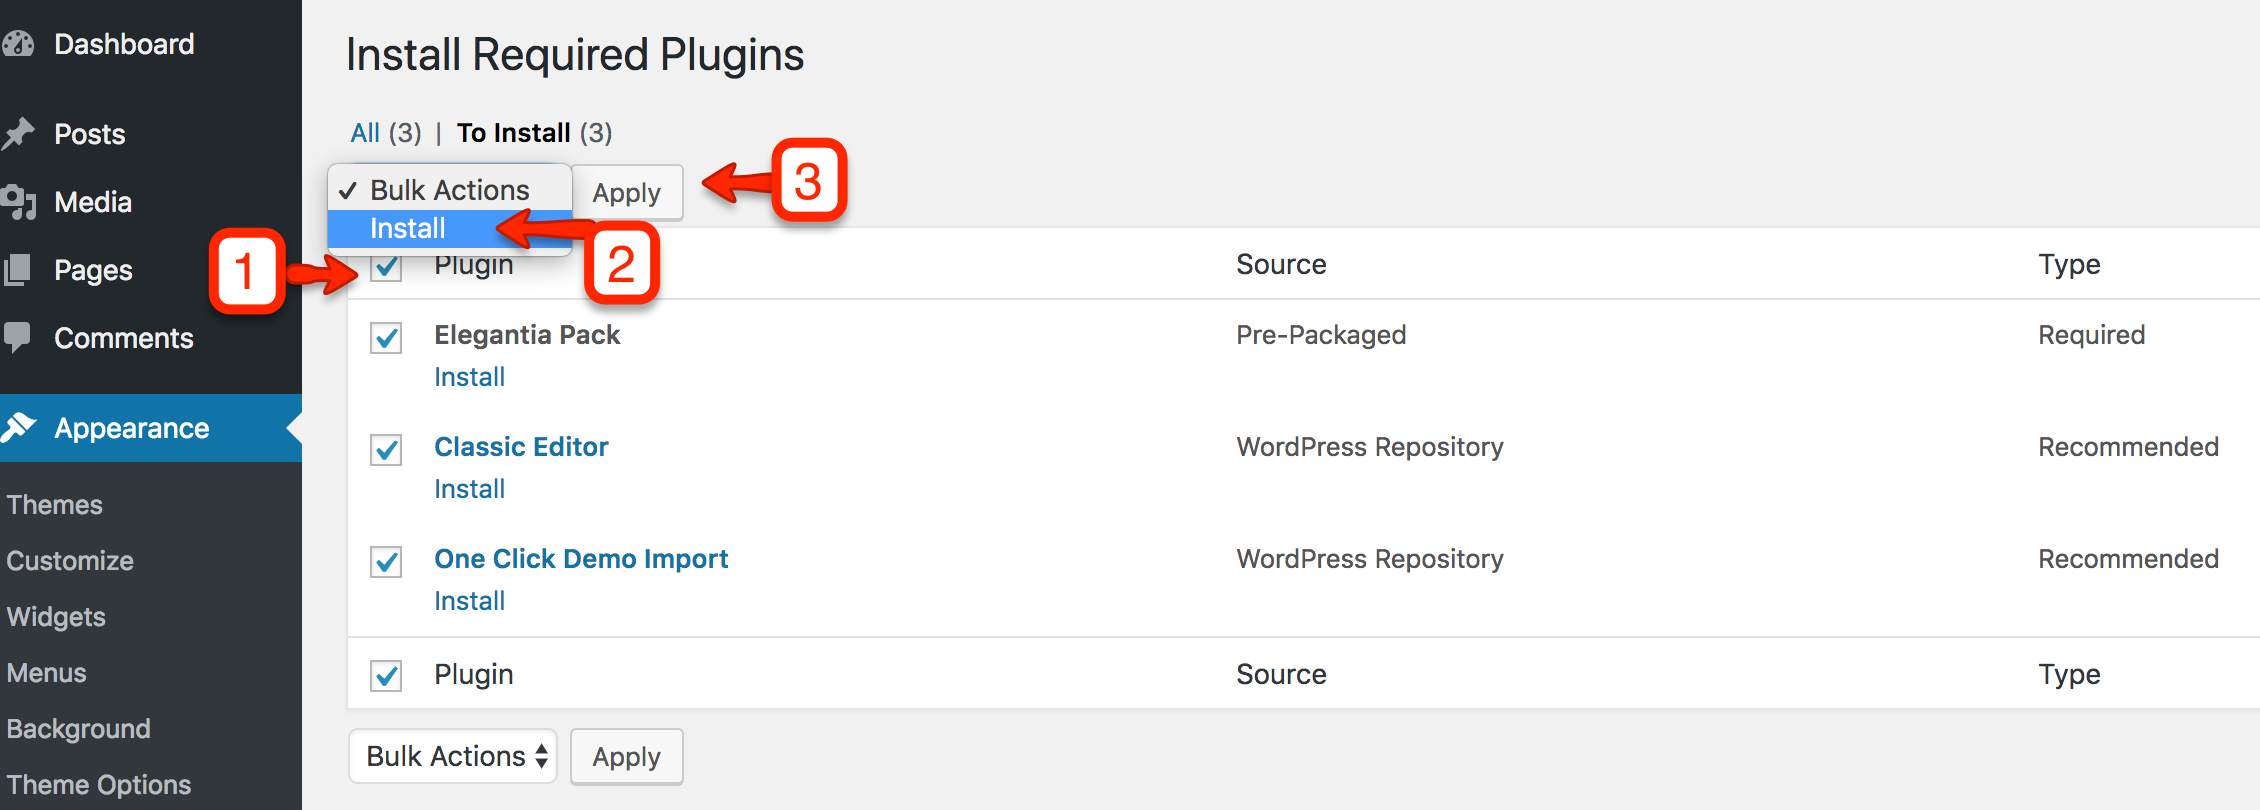
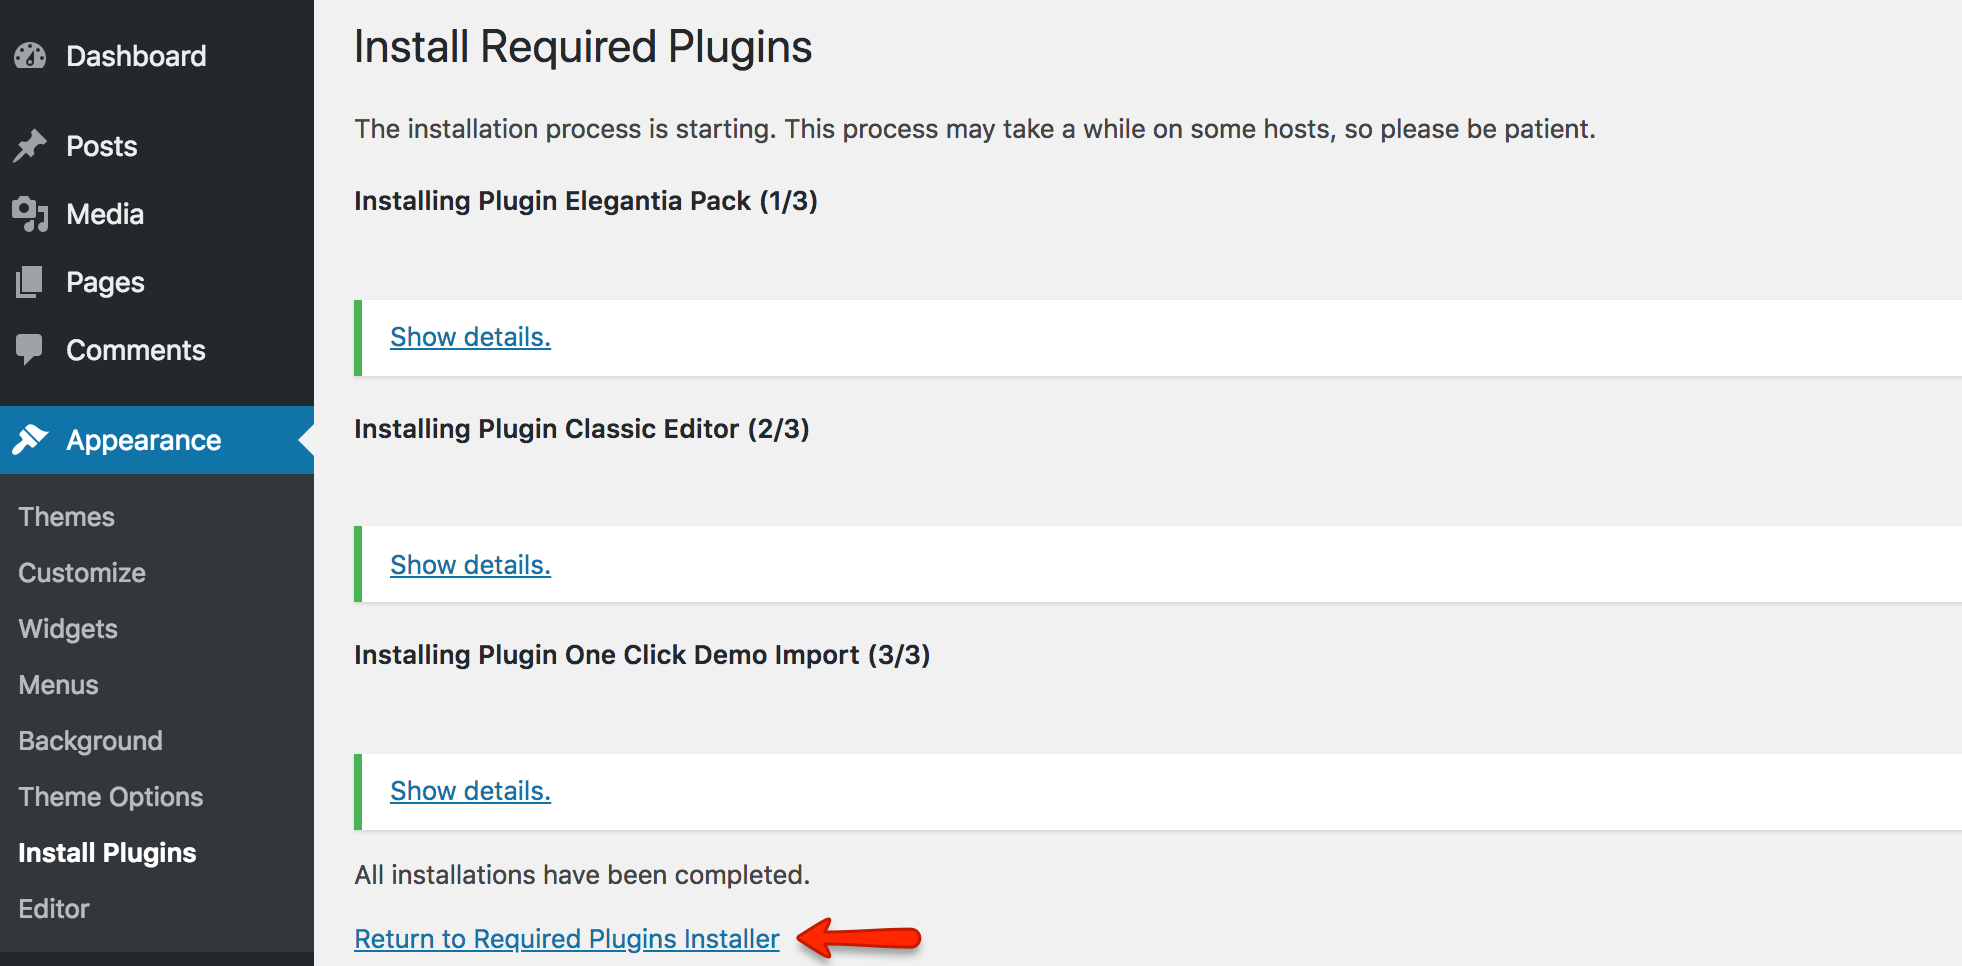
- A notice will be displayed right after the activation of the theme asking you to install and activate the required plugin(s). So, go ahead and click on Begin installing plugins and make sure to also activate the plugin(s) before importing the demo content.

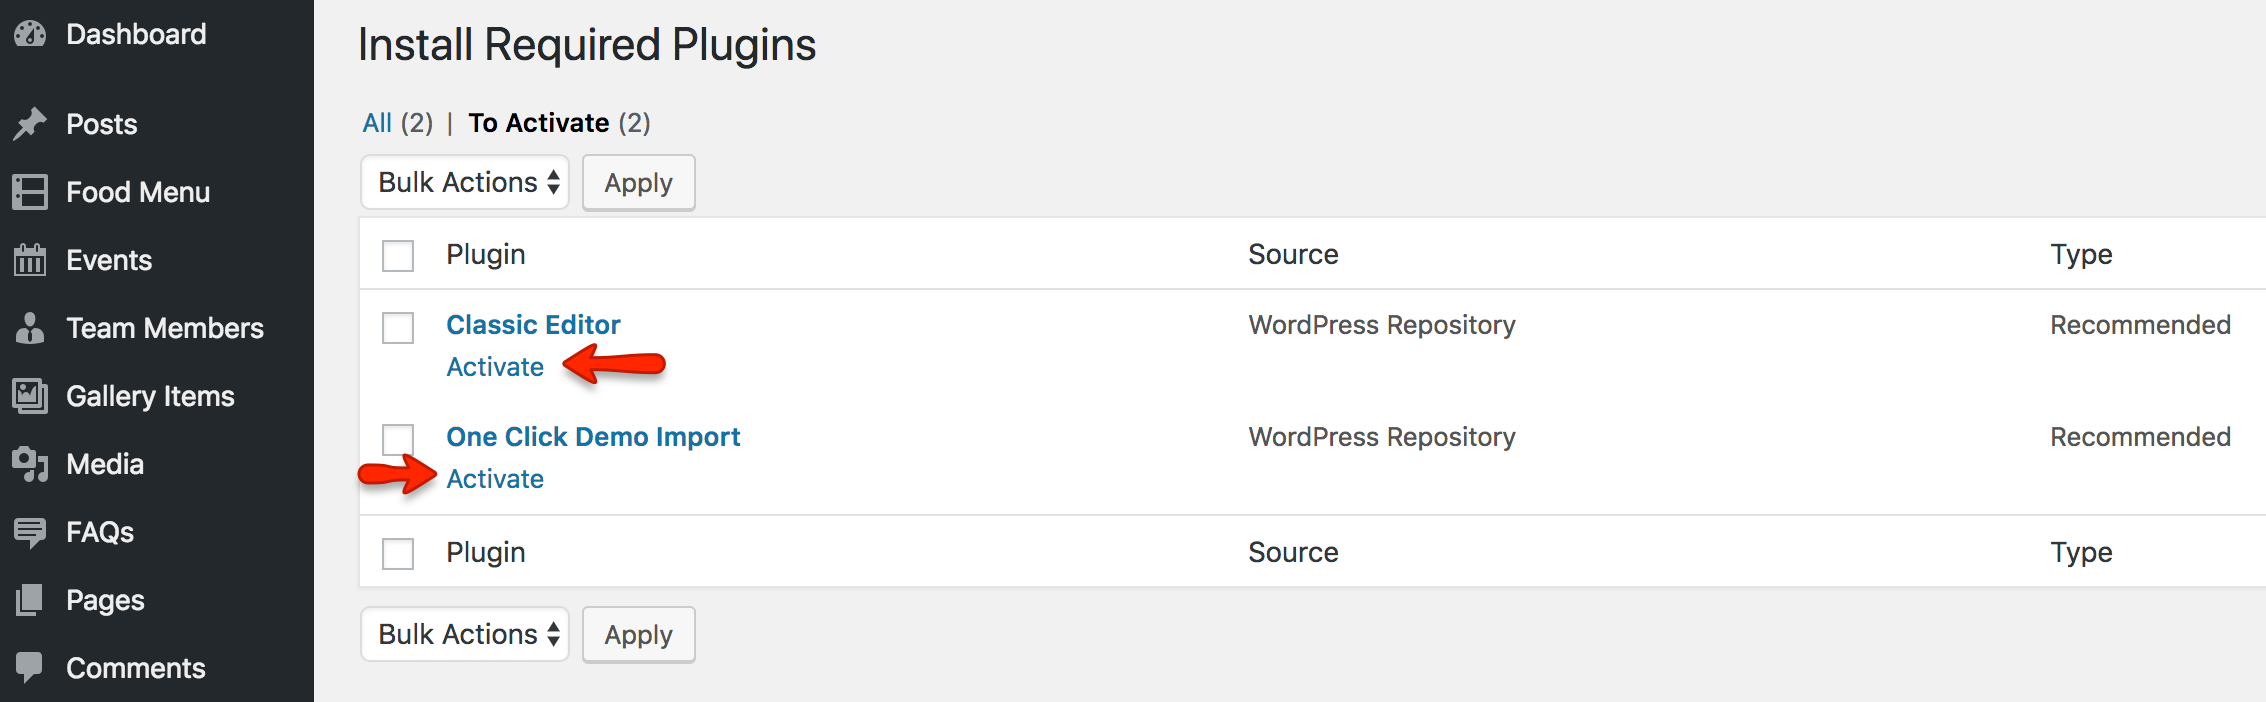
if you face any problem during upload through dashboard, please upload the theme using FTP as guided below.
Install Theme Via FTP
- Access your hosting server using an ftp client like FileZilla
- Go to the 'wp-content/themes' folder of your WordPress installation
- Extract the elegantia-theme.zip file and put the elegantia-theme folder in 'wp-content/themes/' folder
- Go to 'WordPress Dashboard > Appearance > Themes' section to activate the theme
Install Child Theme
It is better to use child theme as if you need to modify anything you modify in child theme only. This way you can easily update your parent theme whenever new update becomes available on themeforest. You can read more about child theme from here.
To install child theme, you need to upload the elegantia-child.zip and activate it in the same way as you uploaded and activated the parent theme's elegantia-theme.zip.
Import Demo Contents
You can follow one of these approaches.
- One Click Demo Import ( Automatic & Recommended )
- Import XML Contents and Configure Settings Manually
1. One Click Demo Import ( Automatic & Recommended )
-
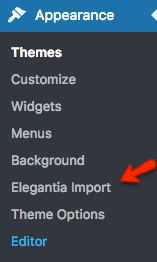
Go to Dashboard → Appearance → Themes and click on Elegantia Import in the sub menu items.
Click on Import Demo Data button. Wait for few minutes as the demo images are being fetched from the remote server and this process can take a couple of minutes.
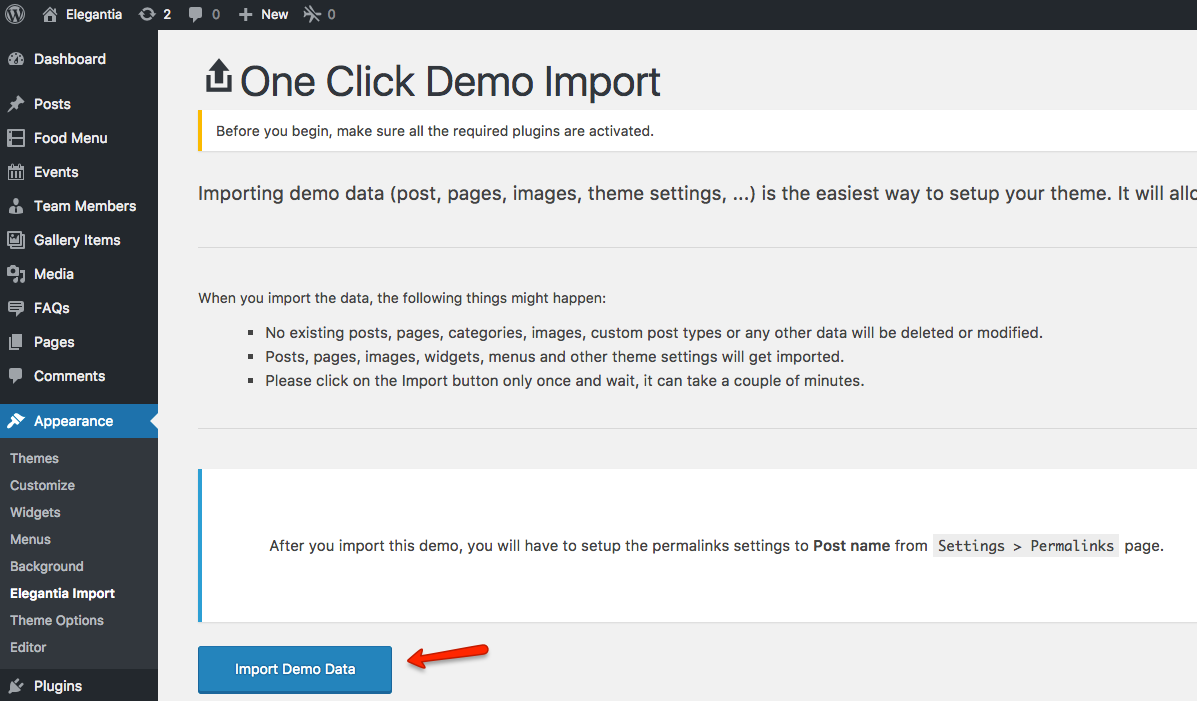
Once the import process is complete, You will receive a notice like the one displayed in the screen shot below.

Visit your site and you will find your site working like the theme demo.
-
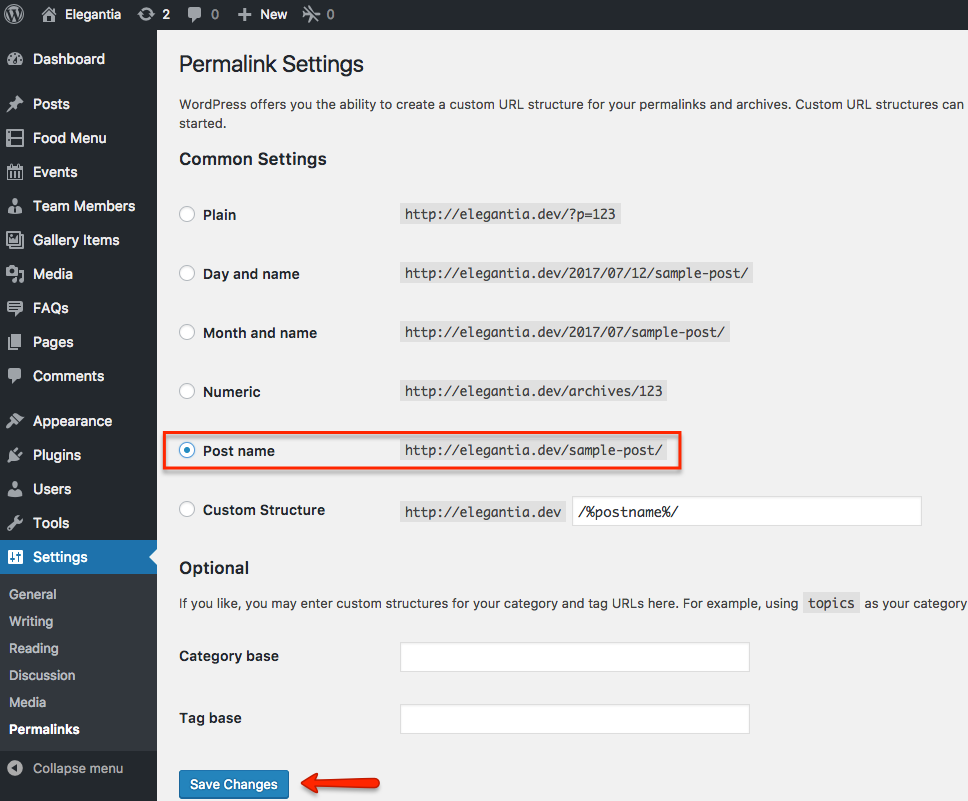
Go to Settings → Permalinks and choose Post name from Common Settings and save the changes, As displayed in screen shot below.
2. Import XML Contents and Configure Settings Manually
-
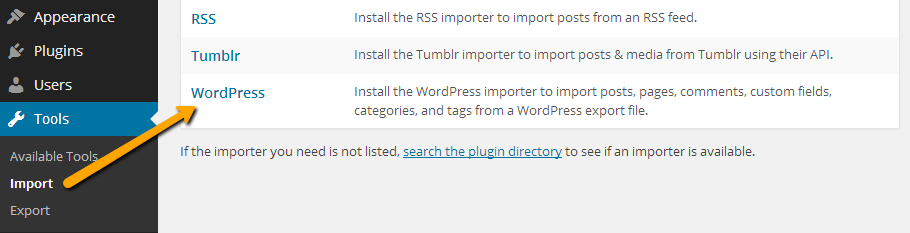
Look for Import XML folder in unzipped package downloaded from themeforest and use the XML within it. Go to the WordPress Admin > Tools > Import and click WordPress as displayed in image below.
-
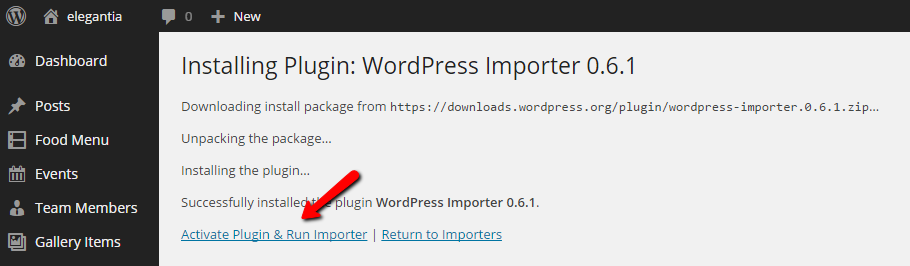
At 1st time you need to install WordPress importer plugin

-
Once installed you need to activate the plugin and run the importer.
-
Select the XML file from Import XML folder in unzipped package that you have downloaded from themeforest.

-
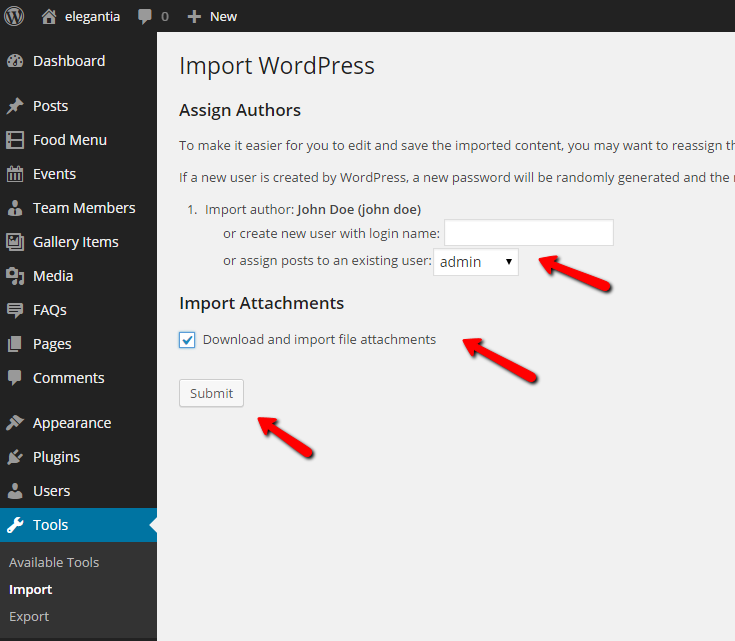
After importing XML file.
- Assign posts to an existing author.
- Mark the checkbox to download and import file attachments
- Click 'Submit' button
-
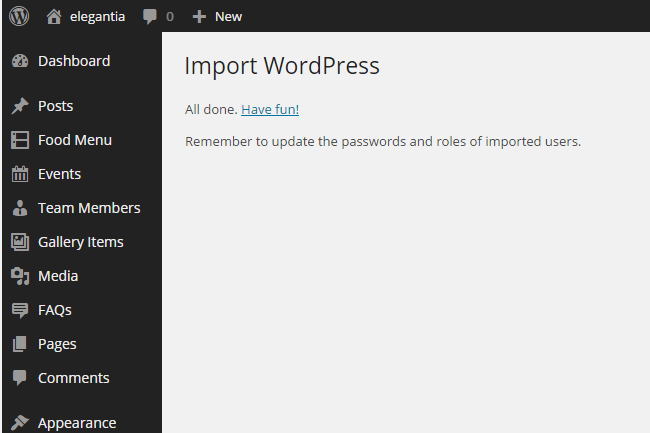
After that is done, you will have bunch of posts, pages, properties and other contents as on the theme demo.
Configure Menus
In case you followed Demo Contents Import and used method 1 (One Click Demo Import), The menus settings should already be configured and you do not need to follow this section.
Navigate to Appearance > Menus and use the Already Imported Menus from XML and assign those to theme locations
Footer Menu
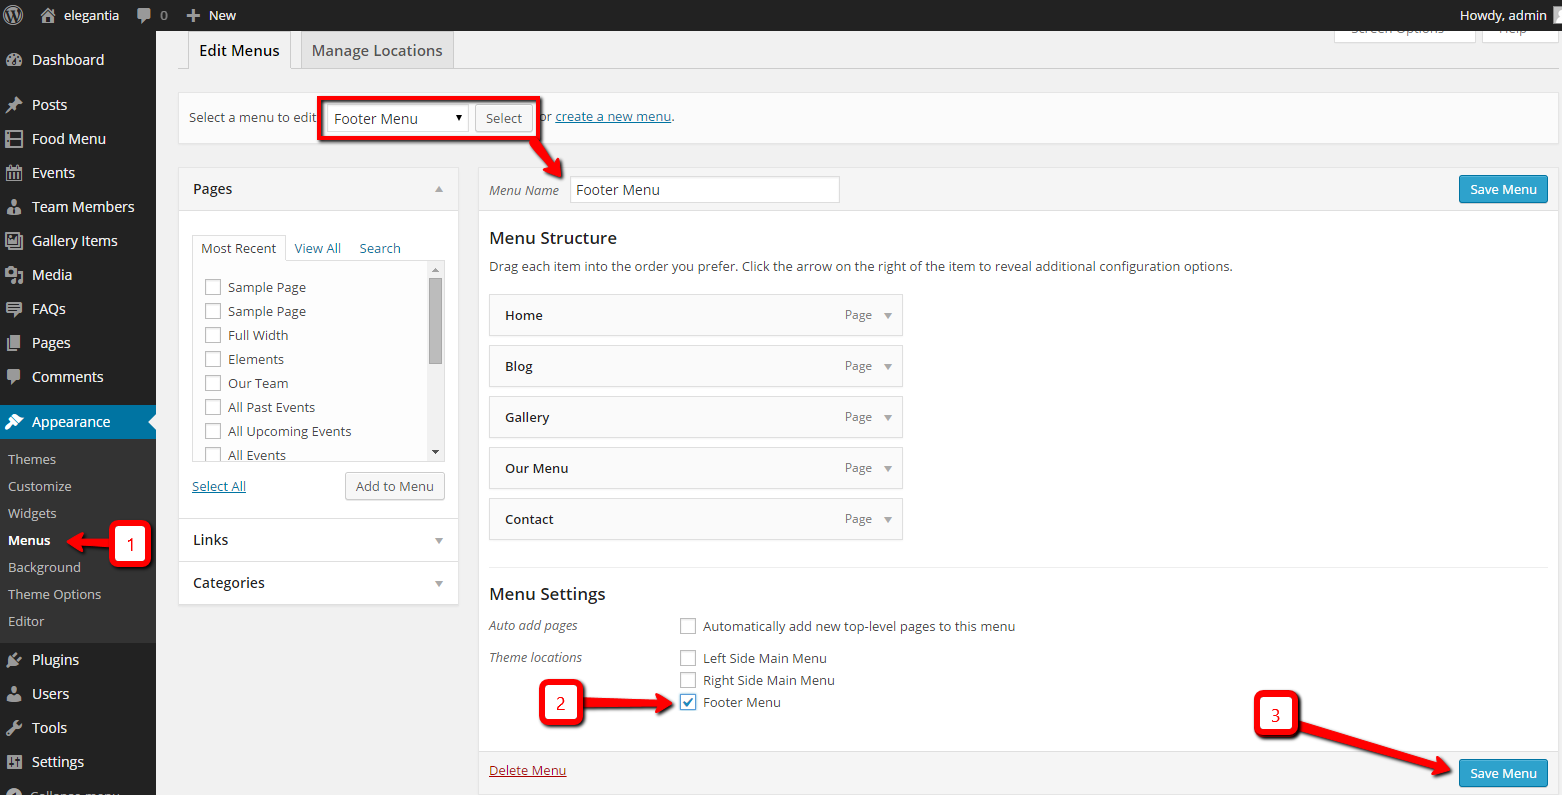
Select "Footer Menu" and look for the Menu Settings section below menu items. Now assign the selected menu to Footer Menu in Theme Locations. After that save the menu. As pointed in screenshot below.
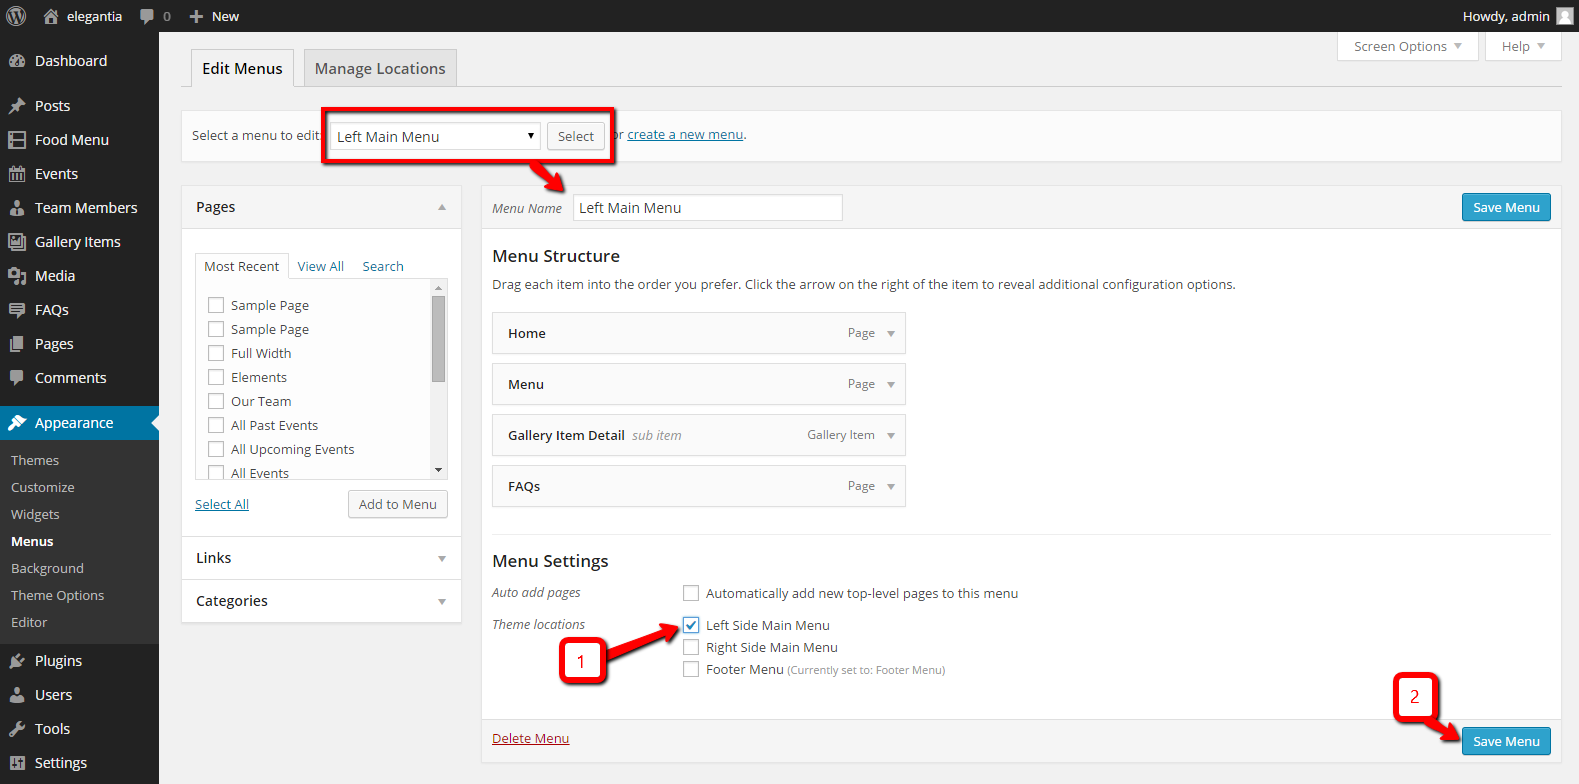
Header Menu
Select "Left Main Menu" and look for the Menu Settings section below menu items. Now assign the selected menu to Left Side Main Menu in Theme Locations. After that save the menu. As pointed in screenshot below.
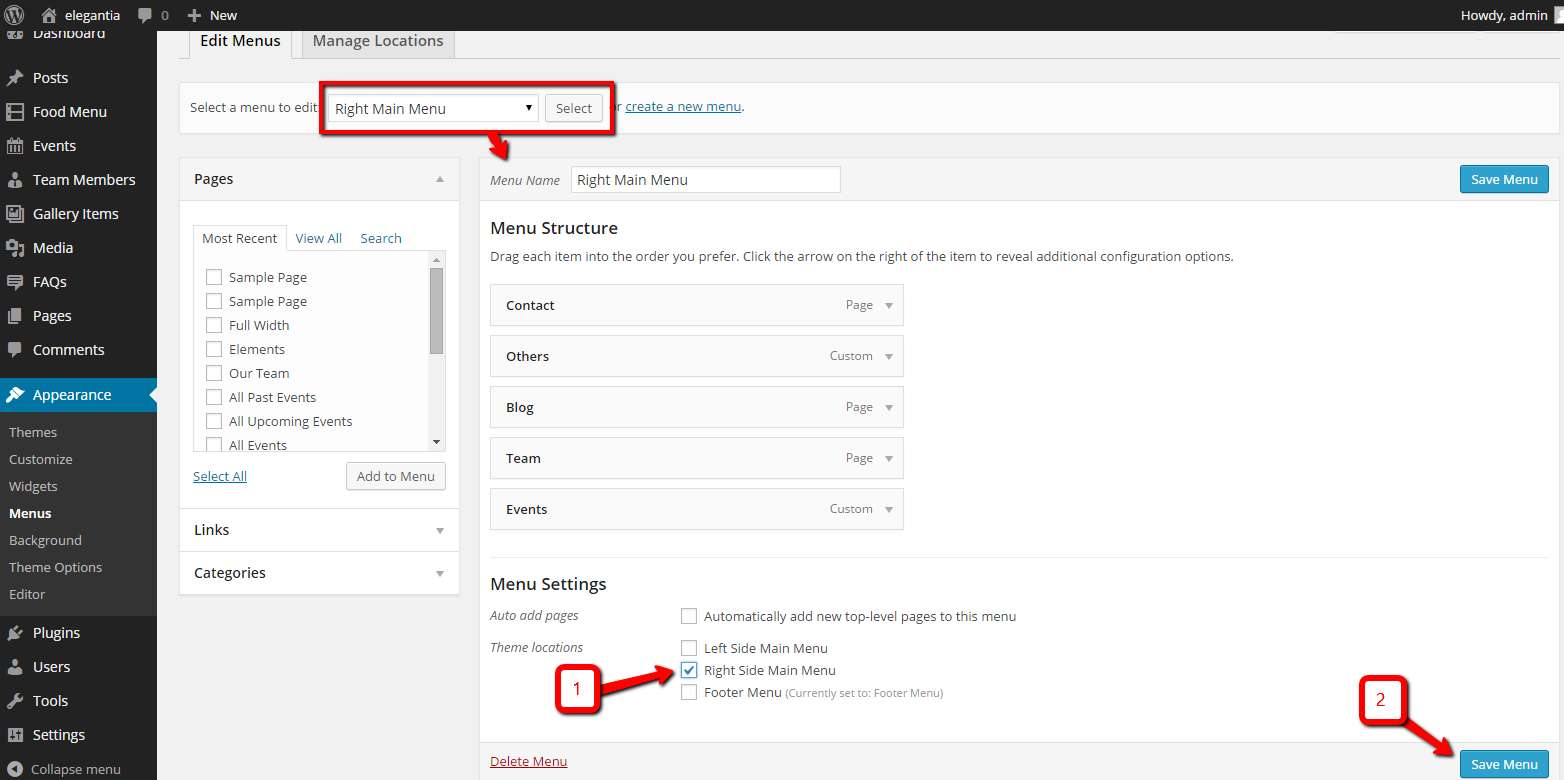
Select "Right Main Menu" and look for the Menu Settings section below menu items. Now assign the selected menu to Right Side Main Menu in Theme Locations. After that save the menu. As pointed in screenshot below.
Configure Reading Settings
In case you followed Demo Contents Import and used method 1 (One Click Demo Import), The reading settings should already be configured and you do not need to follow this section.
I am assuming that you have imported the XML successfully and you have Home page and Blog page available for use. If this is not the case then simply create a new page using Homepage Template and name it as Home after that create another page using default template and name it as Blog.
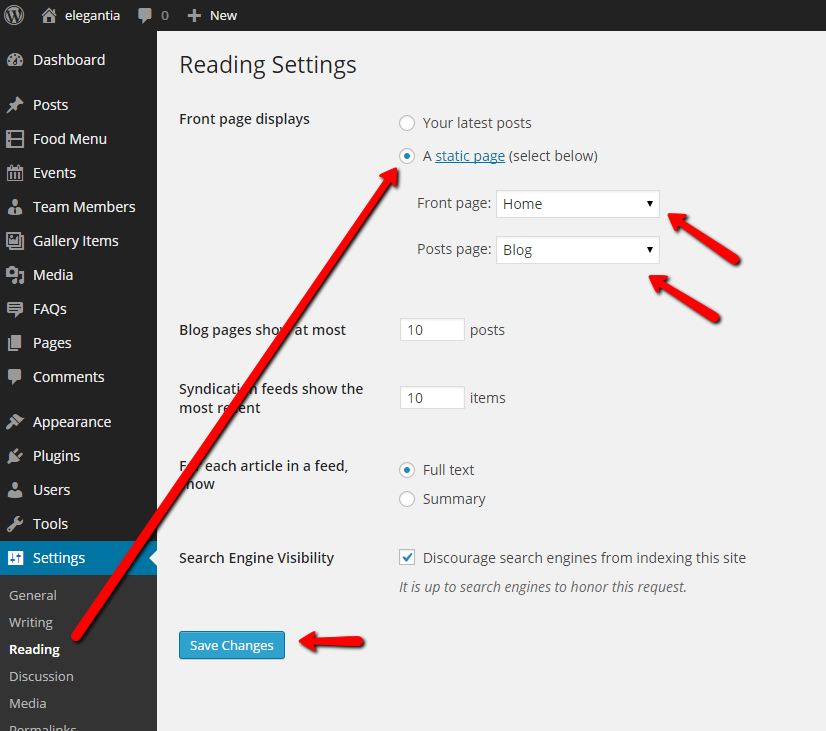
To configure reading settings you need to visit WordPress Admin > Settings > Reading and choose that front page displays as static page. Then select Home as Front Page and Blog as Posts Page and save the settings. As, displayed in screen shot below.
Logo and Favicon Setup
To upload logo and favicon visit WordPress Admin > Appearance > Theme Options > Header as displayed in screen shot below.
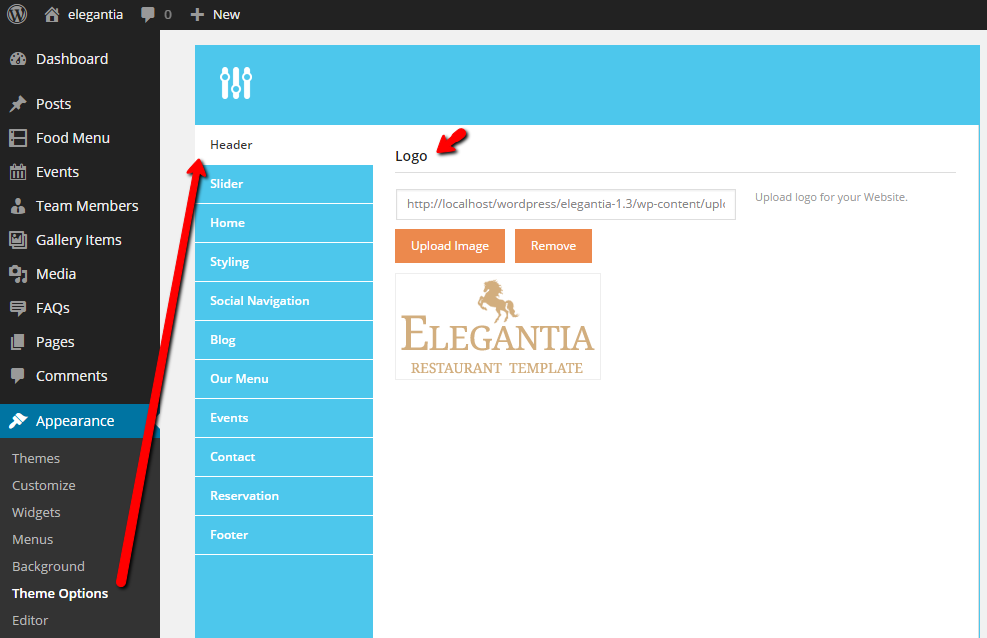
Save Changes after uploading.
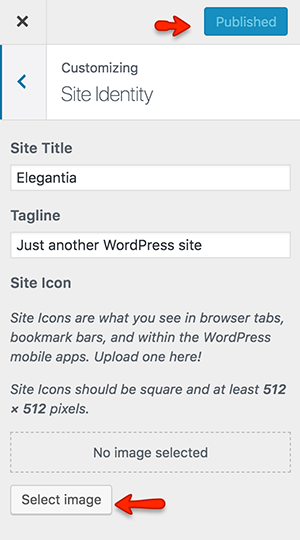
To upload favicon ( site icon ) visit WordPress Admin > Appearance > Customize > Site Identity as displayed in screen shot below.
Home - Prerequisite
In case of imported XML the home page is already created and you do not need to follow this section. Otherwise you need to create a new home page.
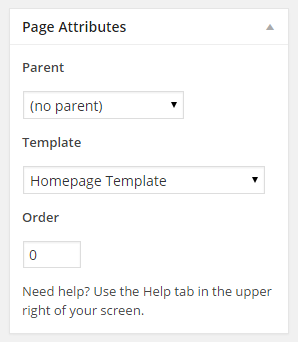
To create new Home page you need to create a new page, Go to Pages > Add New. You can give this page a title "Home" yet you do not need to include any contents for now. Select the “Homepage Template” as template from the Page Attributes section, as displayed in screen shot below and click “Publish”.
After that consult Basic Setup > Configure Read Settings in this documentation and configure it as Front Page.
Set Up Default Slider
To set up default slider visit WordPress Admin > Appearance > Theme Options > Slider and configure your slider images.
This theme provides fullwidth flexible image slider and demo of this theme uses images with 2000px Width and 800px Height. So, it is recommended that you use the same size or even bigger size with same width and height ratio. So, that your site looks good even on very big screens.
Home - Sections
To configure homepage sections visit WordPress Admin > Appearance > Theme Options > Home as displayed in screen shot below.

Your Home Page’s basic settings are done now. you can further customize things according to your requirements.
Add Food Menu Page
Go to WordPress Admin > Pages > Add New- Provide the page title
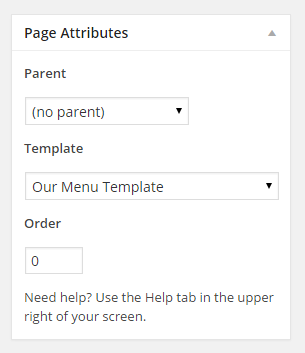
- Select Our Menu Template in page attributes meta box.
- Publish the page once it is ready.
- After publishing you need to add the newly created page in menu from WordPress Admin > Appearance > Menus
Add Portfolio Page
Go to WordPress Admin > Pages > Add New- Provide the page title

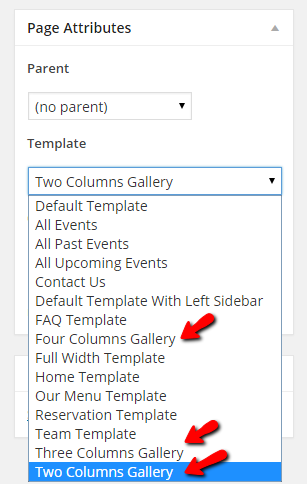
- Select the appropriate page template for gallery. There are 3 templates for gallery page.
- Two Columns Gallery
- Three Columns Gallery
- Four Columns Gallery
- Publish the page once it is ready.
- After publishing you need to add the newly created page in menu from WordPress Admin > Appearance > Menus
Add FAQs Page
Go to WordPress Admin > Pages > Add New- Provide the page title

-
Provide some text contents if you want to

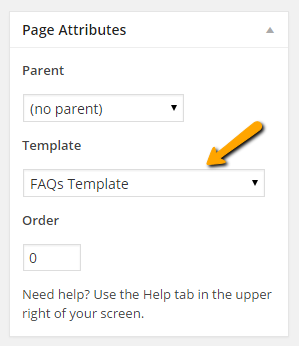
- Select the "FAQs Template" for FAQs page.
- Publish the page once it is ready.
- After publishing you need to add the newly created page in menu from WordPress Admin > Appearance > Menus
Add Events Page
Go to WordPress Admin > Pages > Add New- Provide the page title

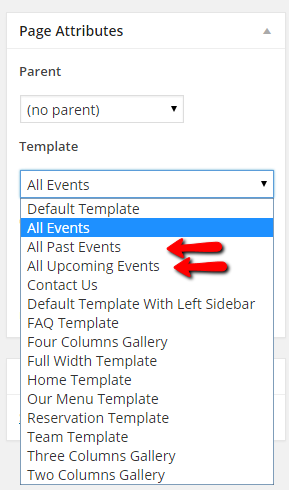
- Select the appropriate page template for event. There are 3 templates for event page.
- All Events
- All Past Events
- All Upcoming Events
- Publish the page once it is ready.
- After publishing you need to add the newly created page in menu from WordPress Admin > Appearance > Menus
Add Team Page
Go to WordPress Admin > Pages > Add New- Provide the page title

- After that you need to assign Team Template as Template from Page Attributes meta box.

- Publish the page once it is ready.
- After publishing you need to add the newly created page in menu from WordPress Admin > Appearance > Menus
Add Reservation Page
Reservation page text content will come from page that you created and Reservation form will be added below the contents as given in theme demo.
There is a section in Theme Options Apperance > Theme Options > Reservation where you can change reservation form heading, text below heading and target email address.
Go to WordPress Admin > Pages > Add New
- Provide the page title
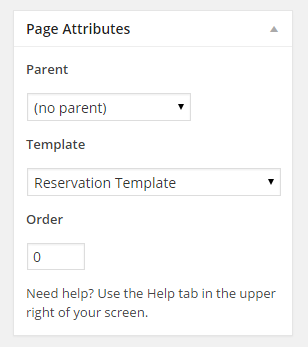
- Assign Reservation Template as Template from Page Attributes meta box.
- Publish the page once it is ready.
- After publishing you need to add the newly created page in menu from WordPress Admin > Appearance > Menus
Add Contact Page
Go to WordPress Admin > Pages > Add New
- Provide the page title
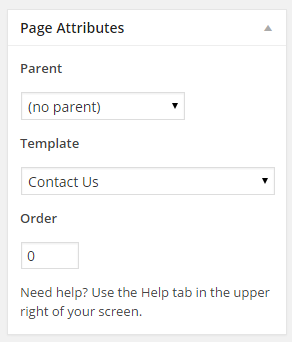
- Assign Contact Us Template as Template from Page Attributes meta box.
- Publish the page once it is ready.
- After publishing you need to add the newly created page in menu from WordPress Admin > Appearance > Menus
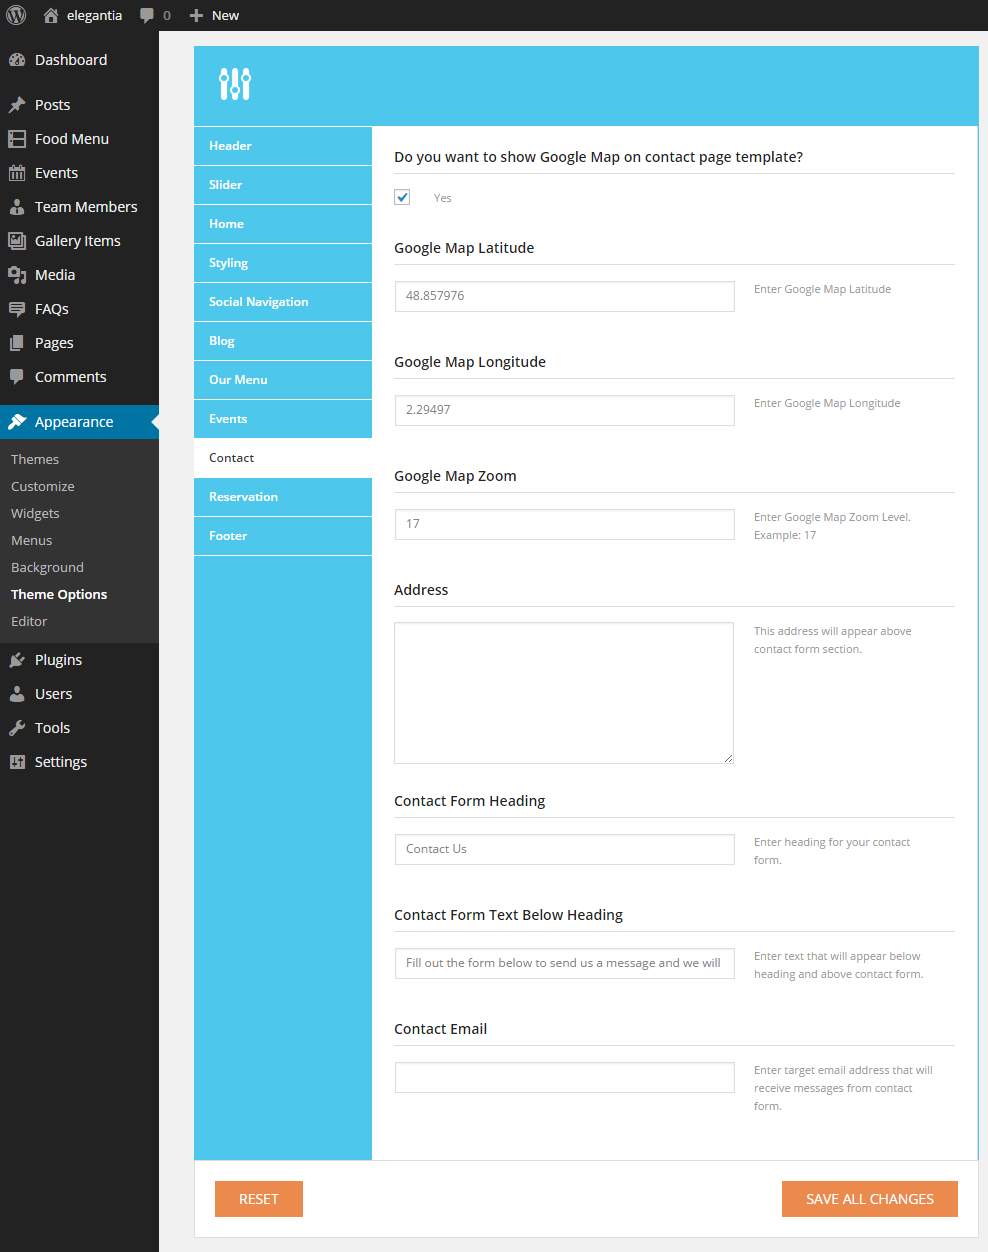
Contact page text content will come from page that you created and Contact Address, Map and form will be added below the contents as given in theme demo.
There is a section in Theme Options Apperance > Theme Options > Contact where you can change various things related to contact page. As displayed in image below.
You can find your Latitude and Longitude from following Website http://itouchmap.com/latlong.html
Add New Food Menu Item
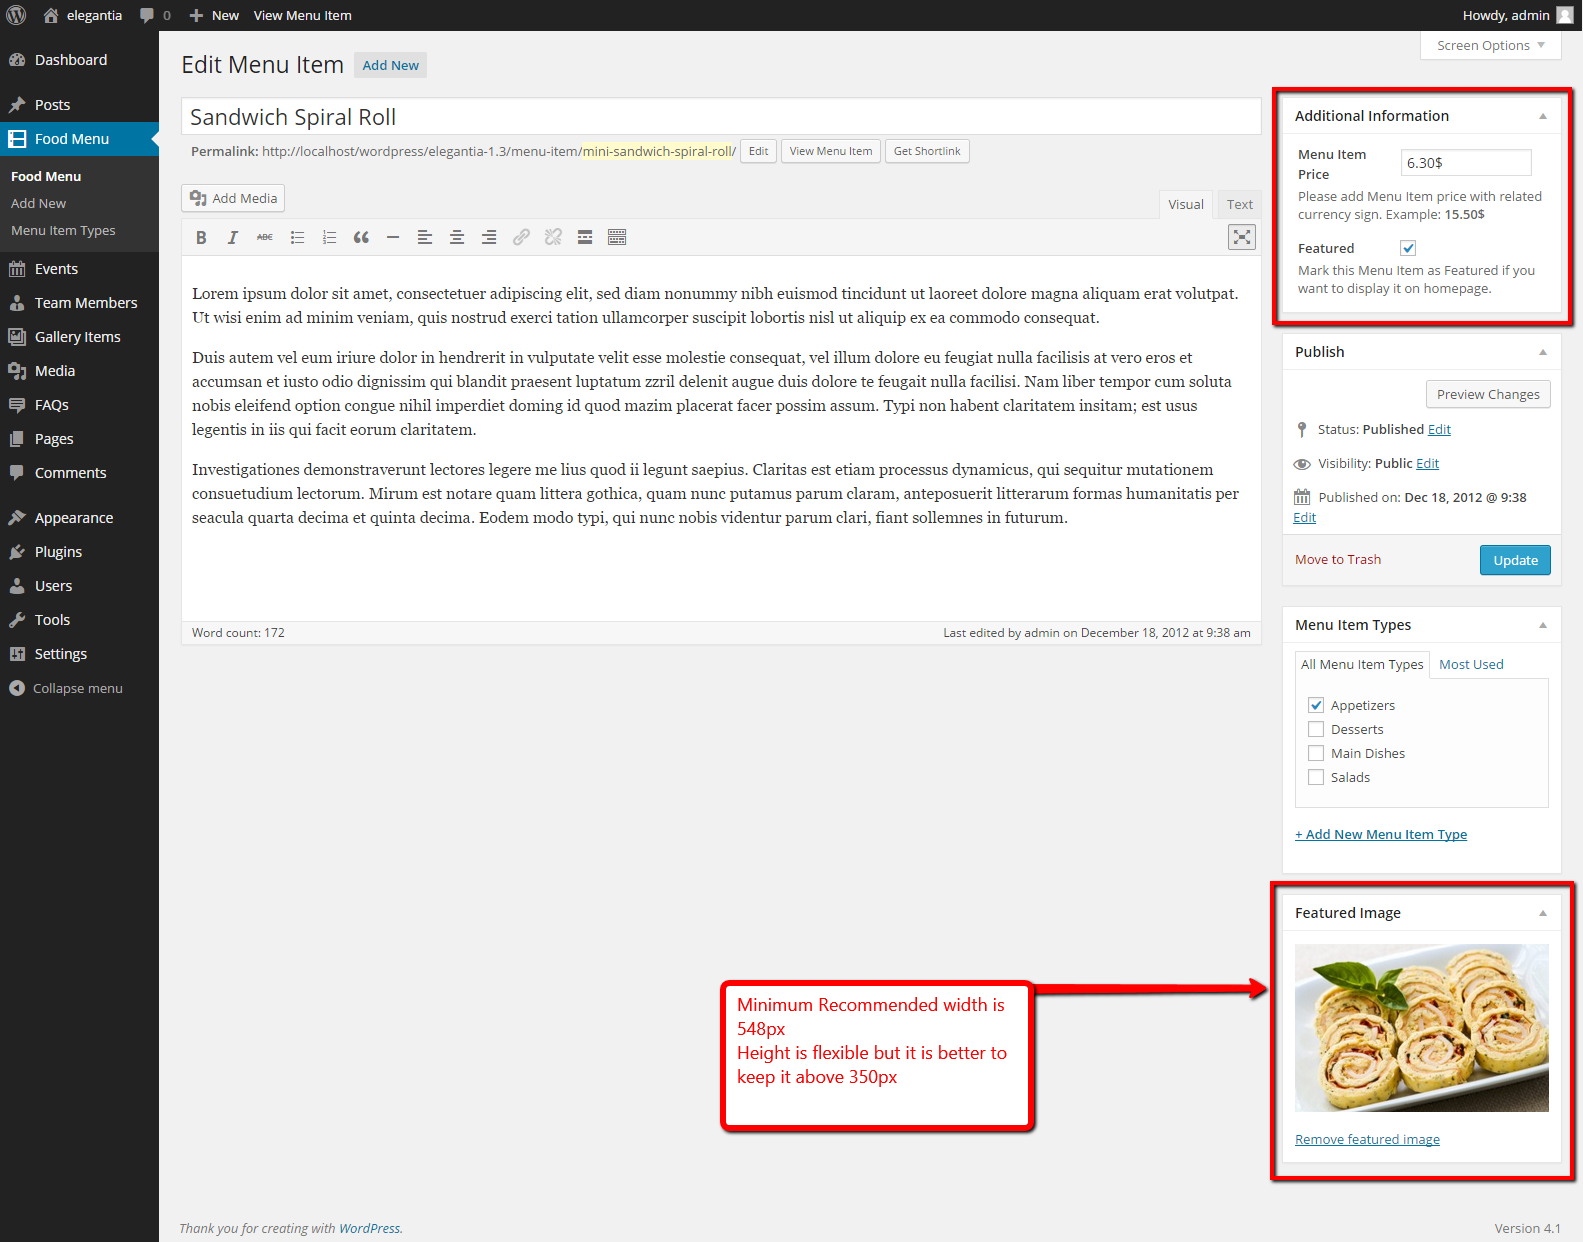
Food Menu page will display food menu items and to add your own food menu item you need to go to WordPress Admin > Food Menu > Add New and add your food menu item as displayed in image below.
Make sure to use featured image with minimum width of 548px and minimum height of 350px.
Also, provide proper price and mark the item featured if you want to display it on homepage.
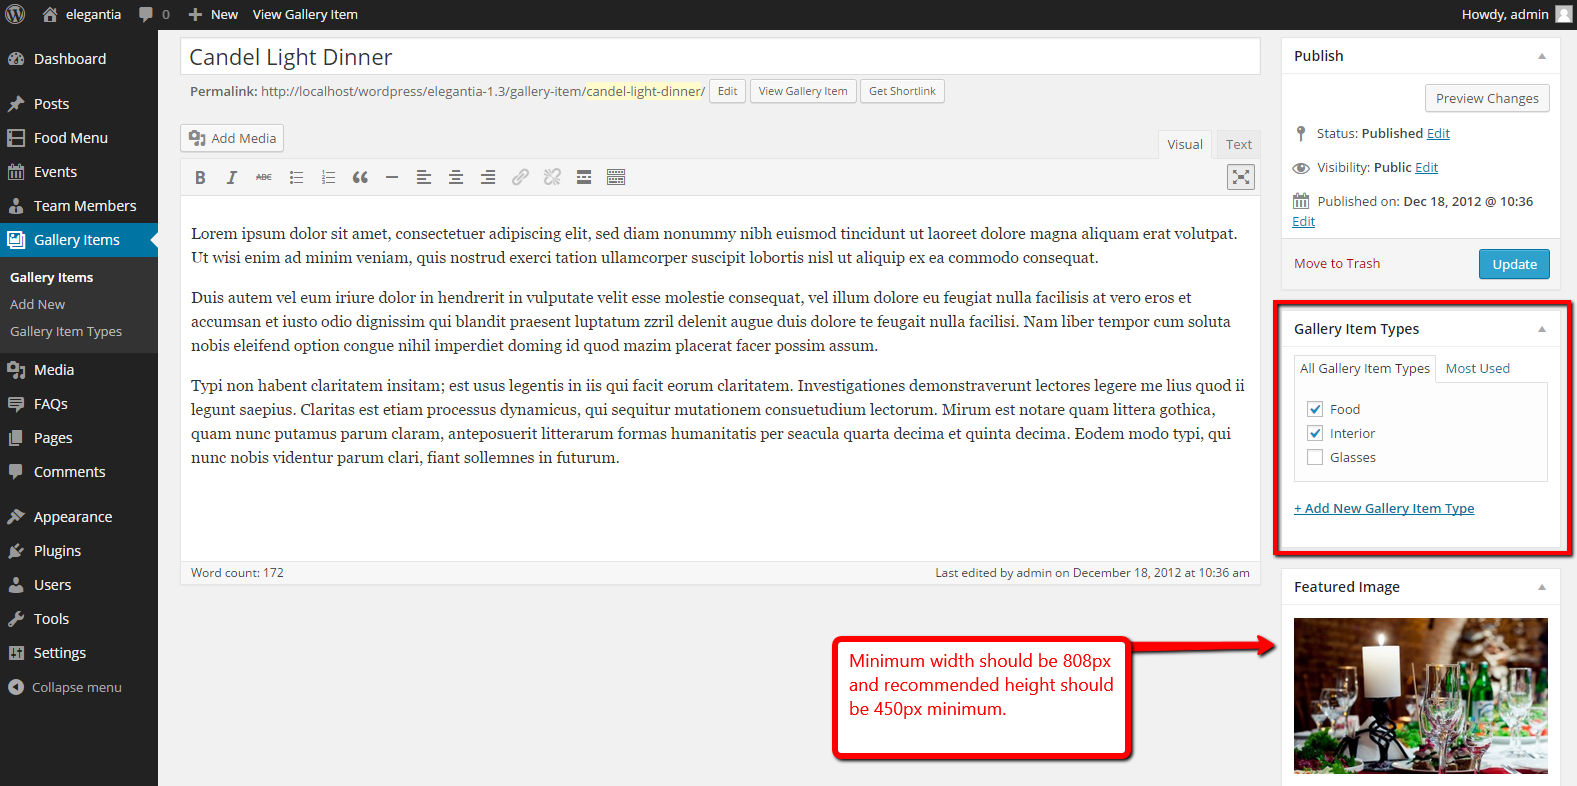
Add New Gallery Item
To add new gallery item you need to go to WordPress Admin > Gallery Items > Add New and provide gallery item image and related details as displayed in image below.
Add FAQ
Go to WordPress Admin > FAQs > Add New- Provide the question text in title field

- Provide the Answer text as contents.
- Publish the FAQ once it is ready.
Add New Event
To create new event you need to go to WordPress Admin > Events > Add New and provide your event details as displayed in image below.

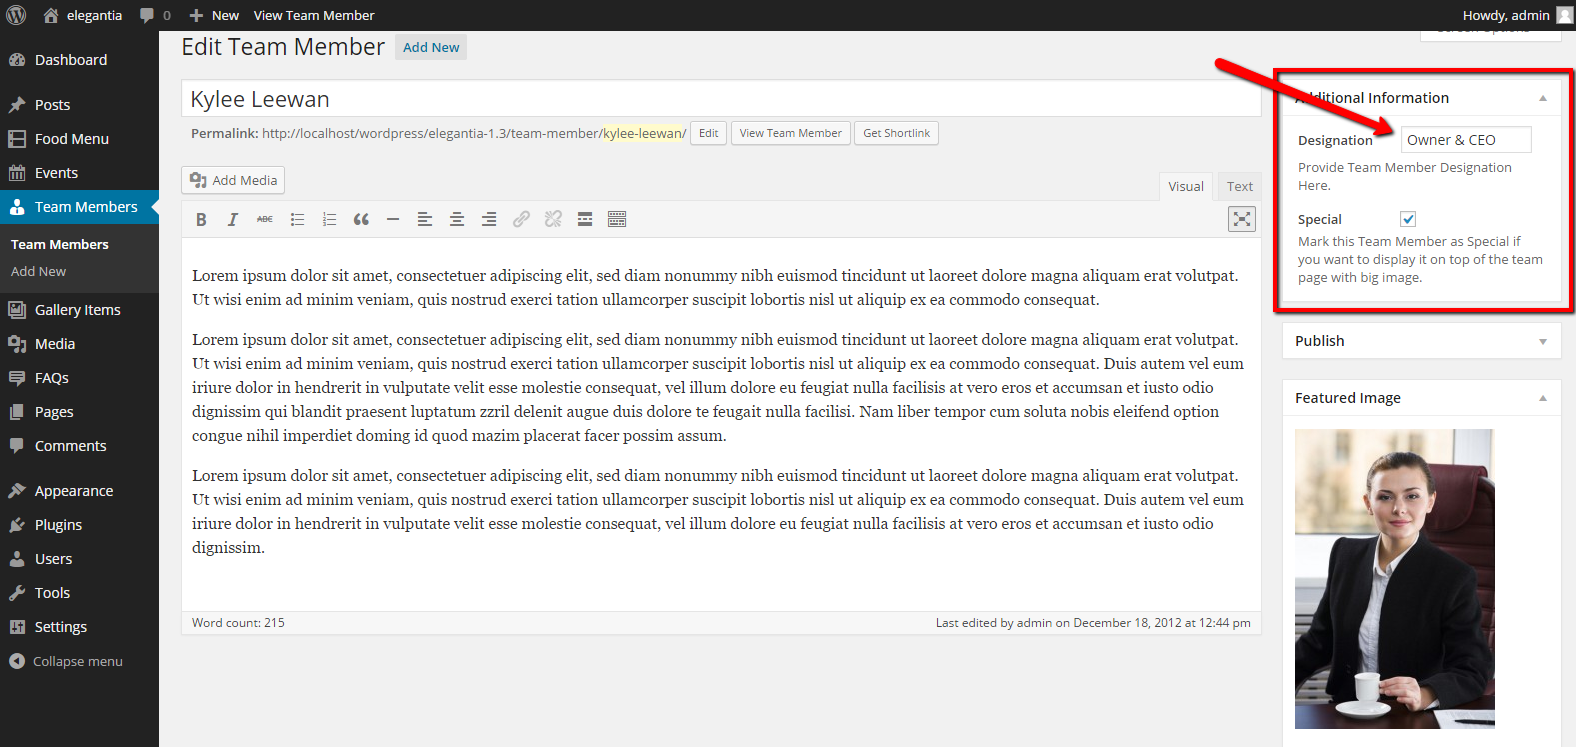
Add New Team Member
To add new team member you need to go to WordPress Admin > Team Members > Add New and provide your team member information and picture as displayed in image below.
Featured image width for Special Team Member is 310px and for Standard Team Member is 170px. Height is flexible for both sizes.
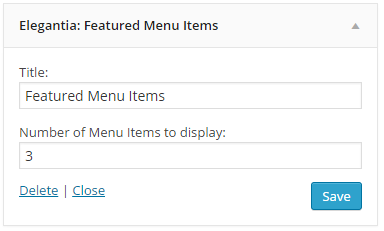
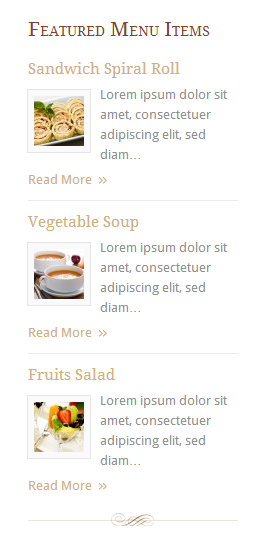
Featured Menu Items Widget
Featured Menu Items Widget displays food menu items those are marked featured during the time of creation. Its admin side looks like this.
The user/visitor side looks like this
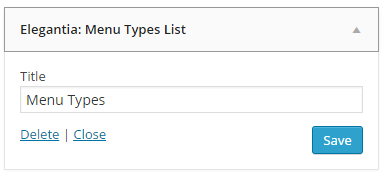
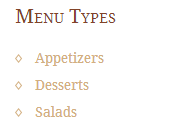
Menu Types List Widget
This widget displays list of Menu Types. its admin side looks like this image give below.
The user/visitor side looks like this
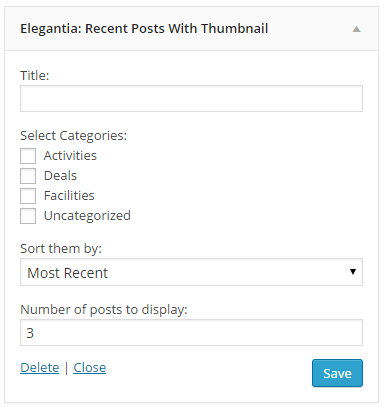
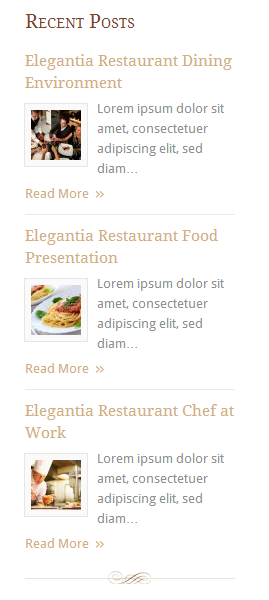
Recent Posts With Thumbnail Widget
This widget displays recent blog posts with thumbnails. its admin side looks like this image below.
The user/visitor side looks like this
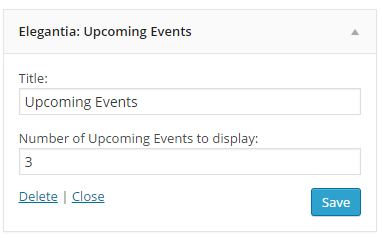
Upcoming Events
This widget displays list of upcoming events. its admin side looks like this image below.
The user/visitor side looks like this

Shortcodes
The theme comes pre-packed with a number of short codes allowing you to add styled content to your site with little effort.


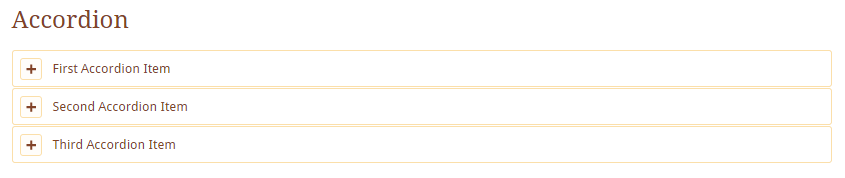
jQuery Accordion
jQuery Accordion shortcode creates an accordion. Its usage example is given below
[accordion]
[accor_block title="First Accordion Item"]Some Contents[/accor_block]
[accor_block title="Second Accordion Item"]Some Contents[/accor_block]
[accor_block title="Third Accordion Item"]Some Contents[/accor_block]
[/accordion]
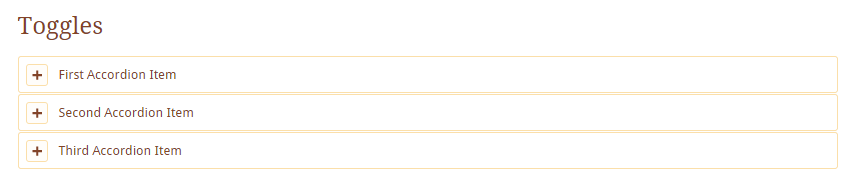
jQuery Toggles
Its usage example is given below
[toggles]
[toggle_block title="First Toggle Item"]Some Contents[/toggle_block]
[toggle_block title="Second Toggle Item"]Some Contents[/toggle_block]
[toggle_block title="Third Toggle Item"]Some Contents[/toggle_block]
[/toggles]
Message Boxes
We have four different types of message boxes in this theme. Usage is mentioned below
[error]Your Error Message Here[/error]
[success]Your Success Message Here[/success]
[info]Your Information Message Here[/info]
[notice]Your Notice Message Here[/notice]

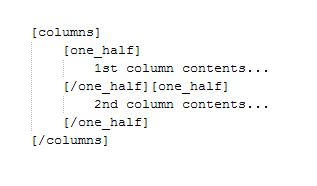
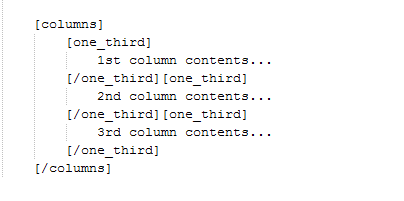
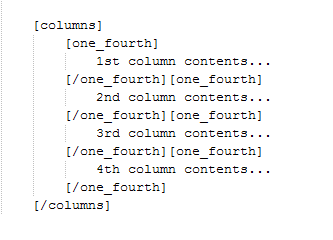
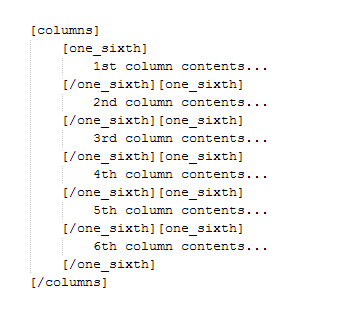
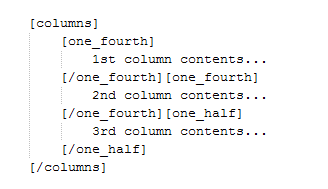
Columns
Columns short code is easy way to make columns in your page or post. All short codes related to columns and usage of these codes is mentioned below
[columns][/columns]
[one_half][/one_half]
[one_third][/one_third]
[two_third][/two_third]
[one_fourth][/one_fourth]
[three_fourth][/three_fourth]
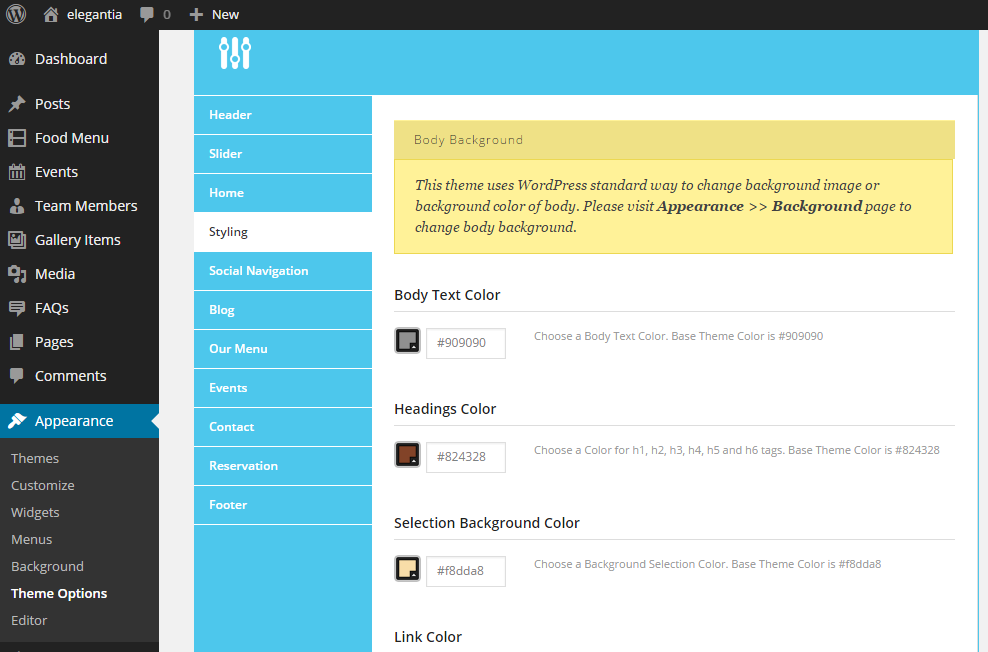
How to Modify Styles
There are various options available to modify styles in this theme.- Theme Options - Go to 'Theme Options > Styling' for various styling options.
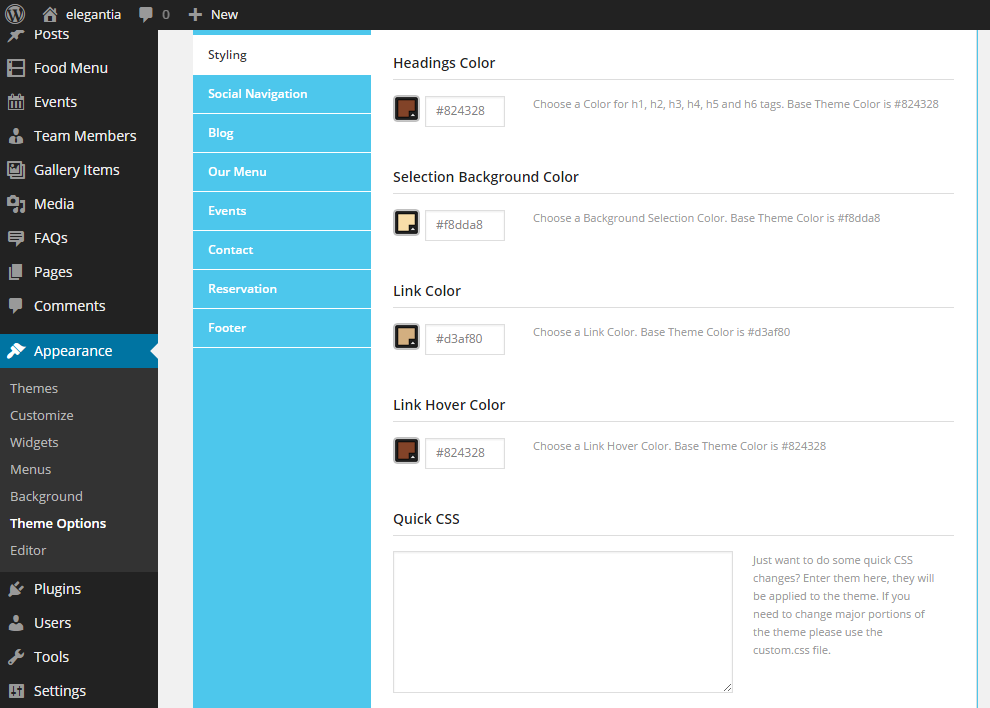
- Quick CSS - Go to 'Theme Options > Styling > Quick CSS' to write some short css.
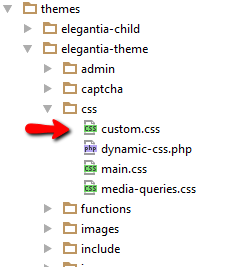
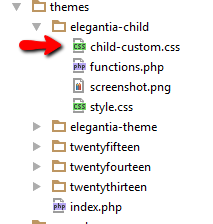
- Child Theme - It is recommended to use child theme's child-custom.css file for major css changes.
- Custom CSS in Parent Theme - if you are not using child theme then 'css/custom.css' file is provided in parent theme to add major css changes.
Hire Customization Services
For any customization solution you can always consider using our theme customization services.